Development / CMS
Step-by-Step Guide to Installing Sitecore 10.4.1 Locally
S
Saurav Kumar 2 Min Read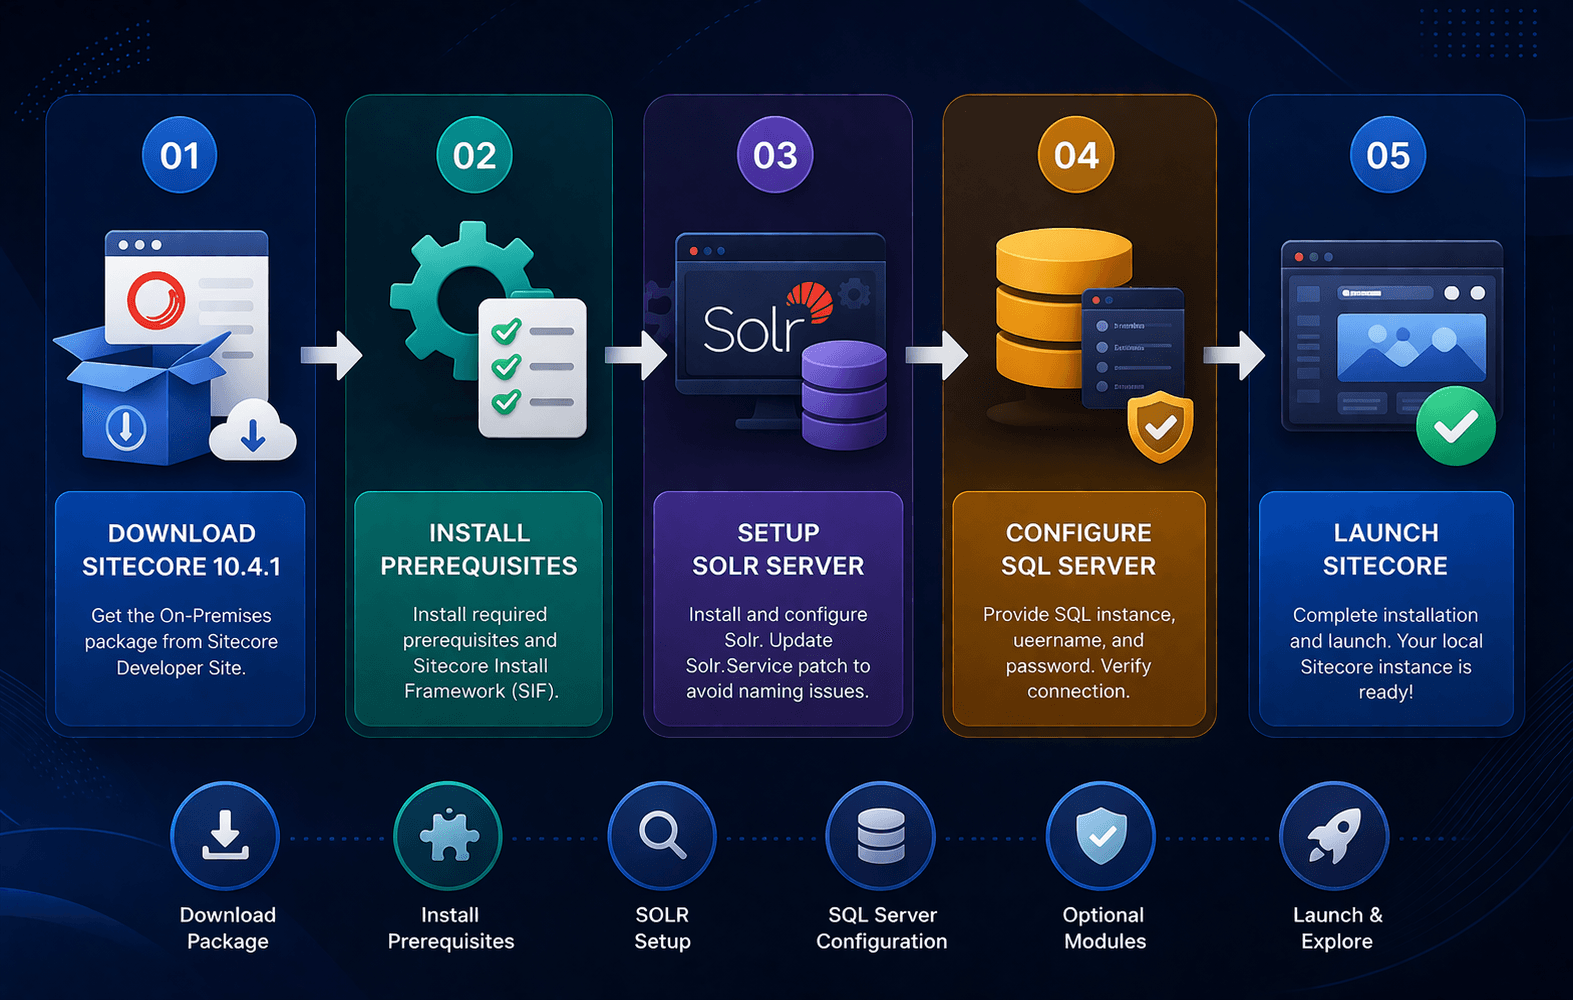
- Download correct package of sitecore 10.4.1 exe file from the sitecore developer site, and download from On Premises deployments. Download highlighted package for sitecore exe setup.
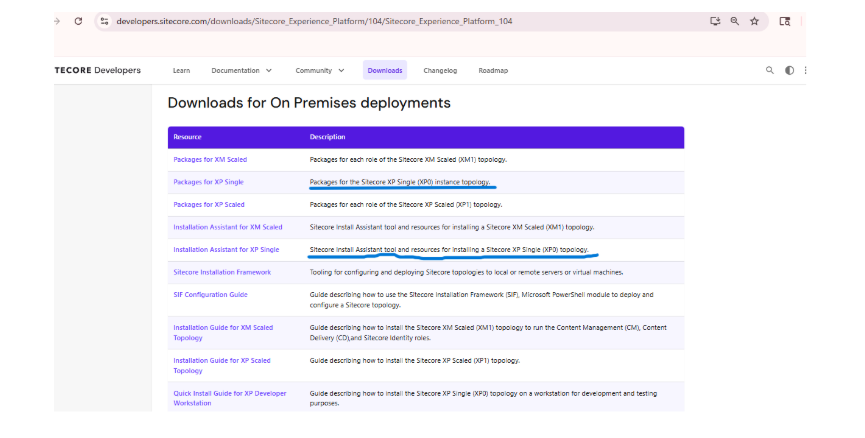
- Download correct package of sitecore 10.4.1 exe file from the sitecore developer site, and download from On Premises deployments. Download highlighted package for sitecore exe setup.
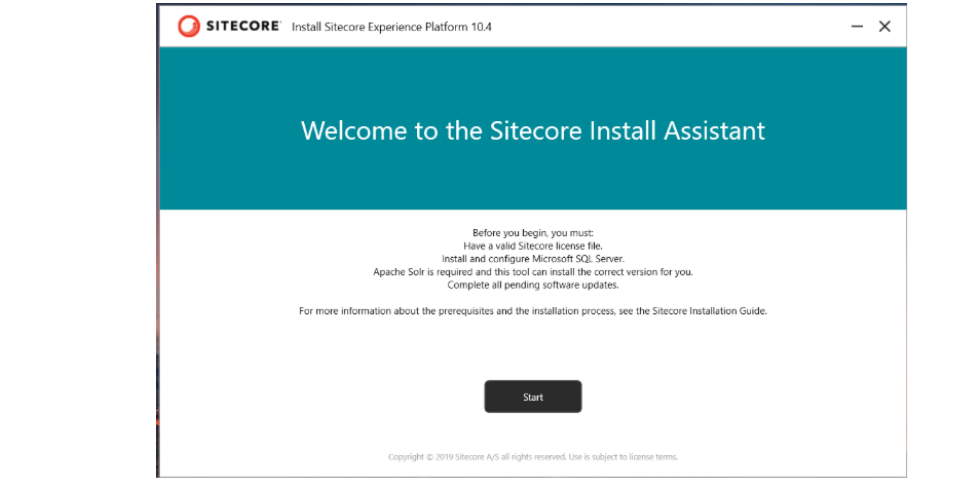
- Once you download package extract that file and click on the sitecore exe file to start your installation process.
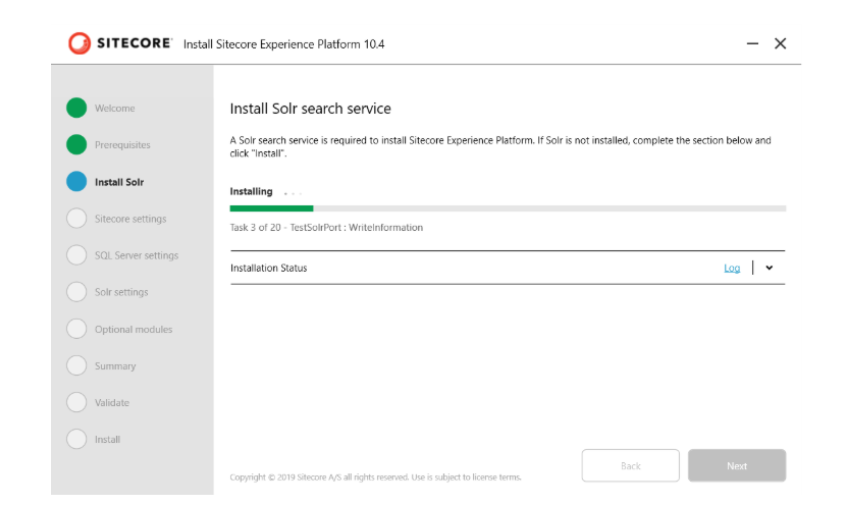
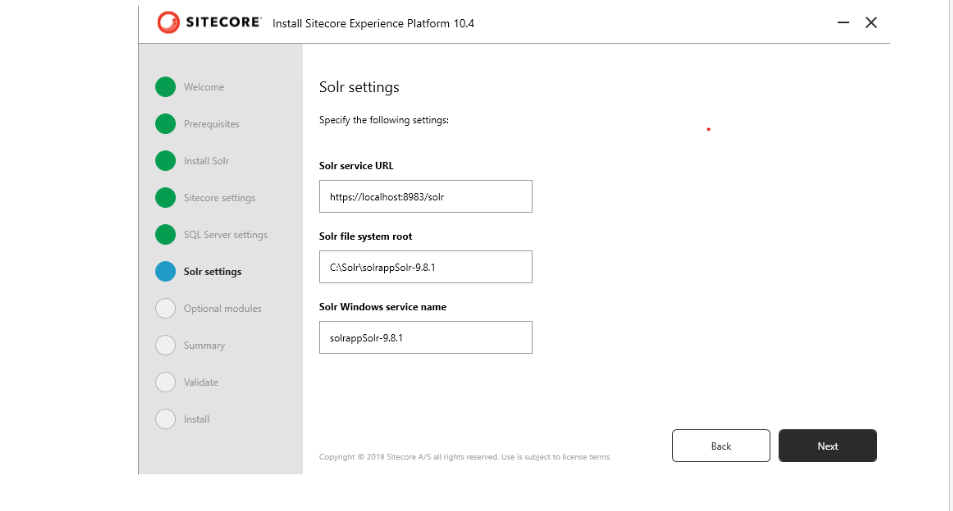
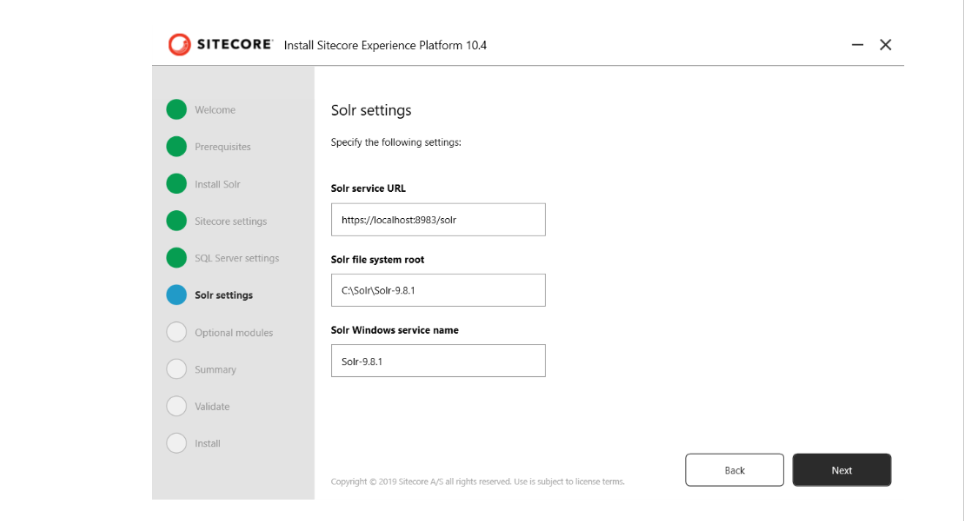
- Note: Before you click on the setup.exe file, there is a minor change you need to undertake during the installation process of SOLR. In Sitecore 10.4.1 when you start installing SOLR, the solr file gets installed with multiple names in a single file, the prefix which you have provided and the file both come together as one file name. i.e. solr-9.8.1solr-9.8.1 to avoid such naming in the solr file we need to update "Solr.Service" patch as "Solr.Service": "[concat(variable('Sol.FileName'))]”, in Solr-SingleDeveloper.json file and saved it to avoid such cases.

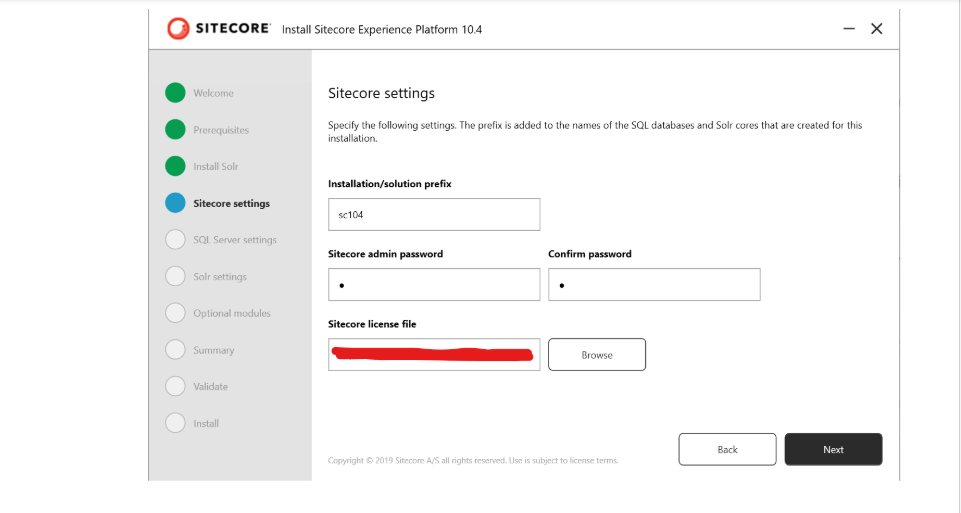
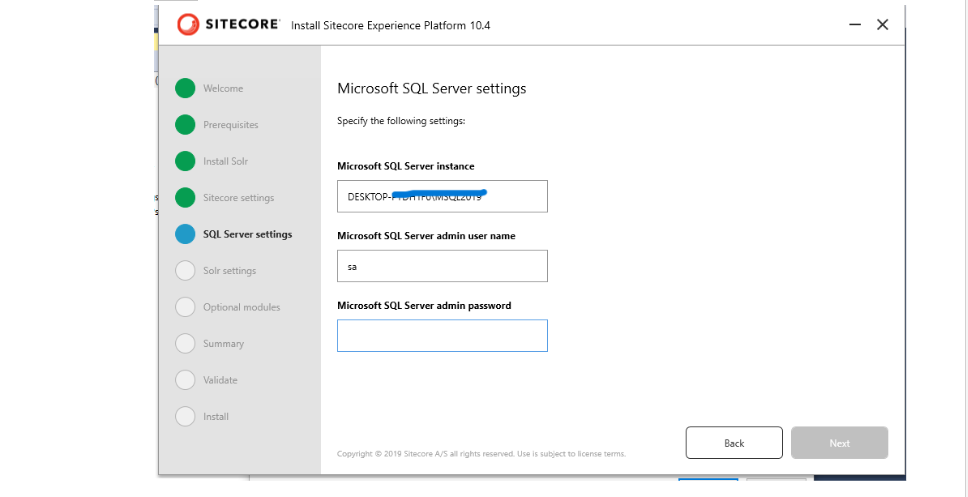
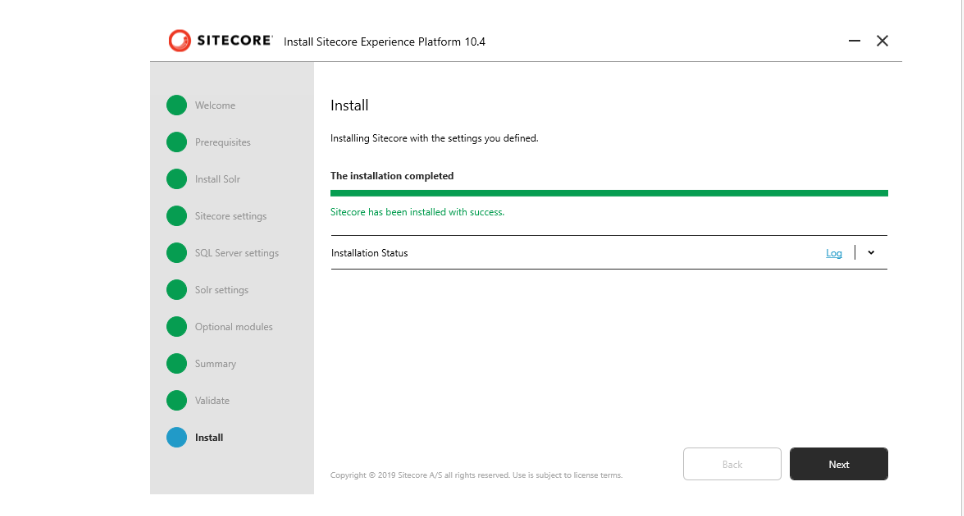
- Now you can click on the setup.exe file.
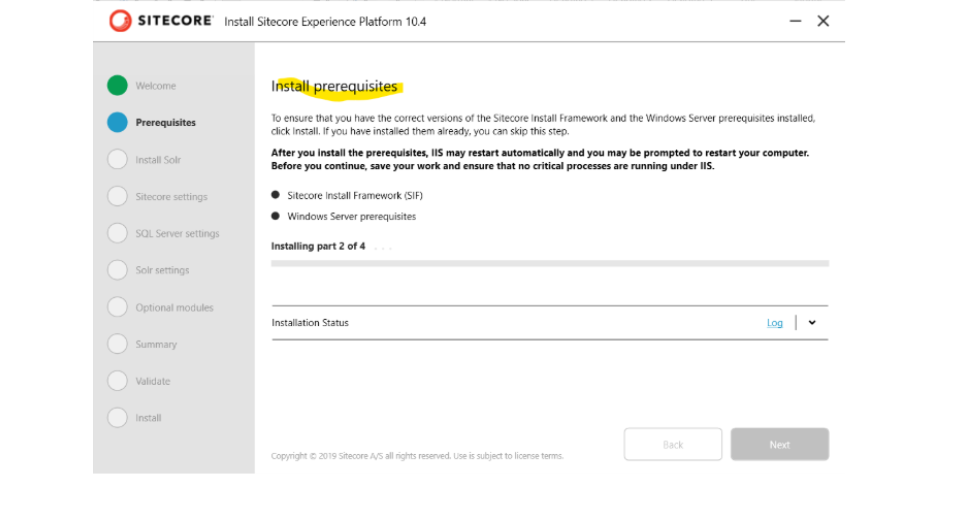
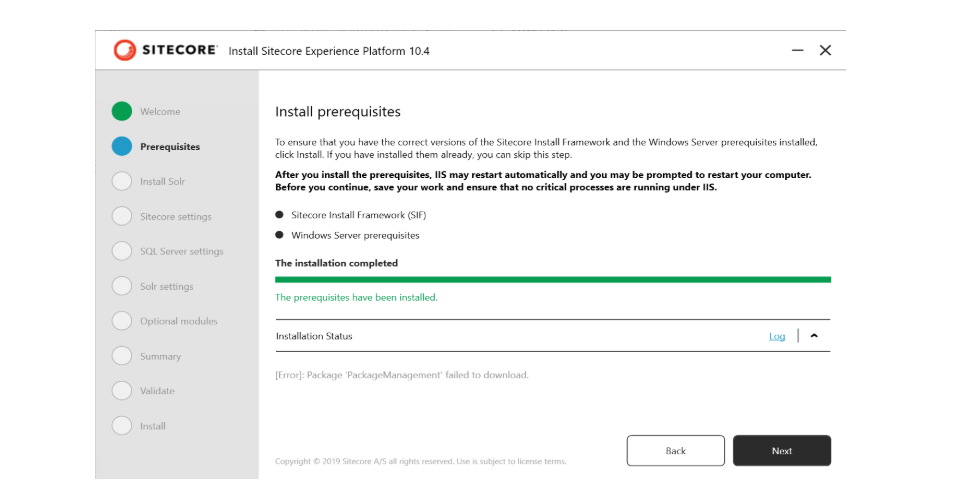
- Download pre-requisites for sitecore.
but I encountered the following issue:
Reader Responses